


1- Log into the Hestia Control Panel in web browser.
2- Enter your account details like username and password and log in.
3- To view a list of DNS zones, click on the “DNS” tab which is available on the top menu.

4- Search for the domain name and click on “Add DNS Records” to add DNS records.

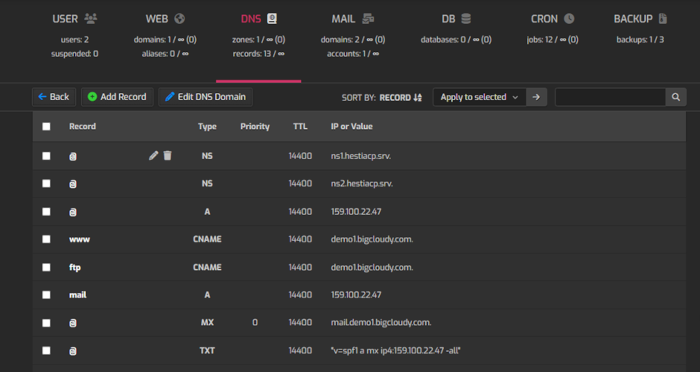
5- You will find a list of existing DNS records for your domain in the DNS zone editor and then
click on this “Add Record” button for creating a new DNS record.
Now that you have gone through entire steps of this article, you can add and manage DNS records very easily for your website in the Hestia Control Panel and make sure that your domain points accurately to your website’s server and services.
